Hey guys, I put up a video showing the process I went through to make and install my clip-ins. I used the Sleek Idol 101 yet again!
I think this hair extension is great if you want to save money. Not just that, it is quite good quality, being not human hair and it lasts too.
I like to install my extensions as clip-ins because it gives me great versatility in styling and gives me the flexibility to tend to my natural hair.
:: Extensions ::
Fashion Idol 101 by Sleek
Length 14inch
Colour 1 (Black)
Style Hot Yaki
THE INSTALLED CLIP-INS LOOK LIKE THIS:
THE PROCESS AND SOME STILLS FROM THE TUTORIAL
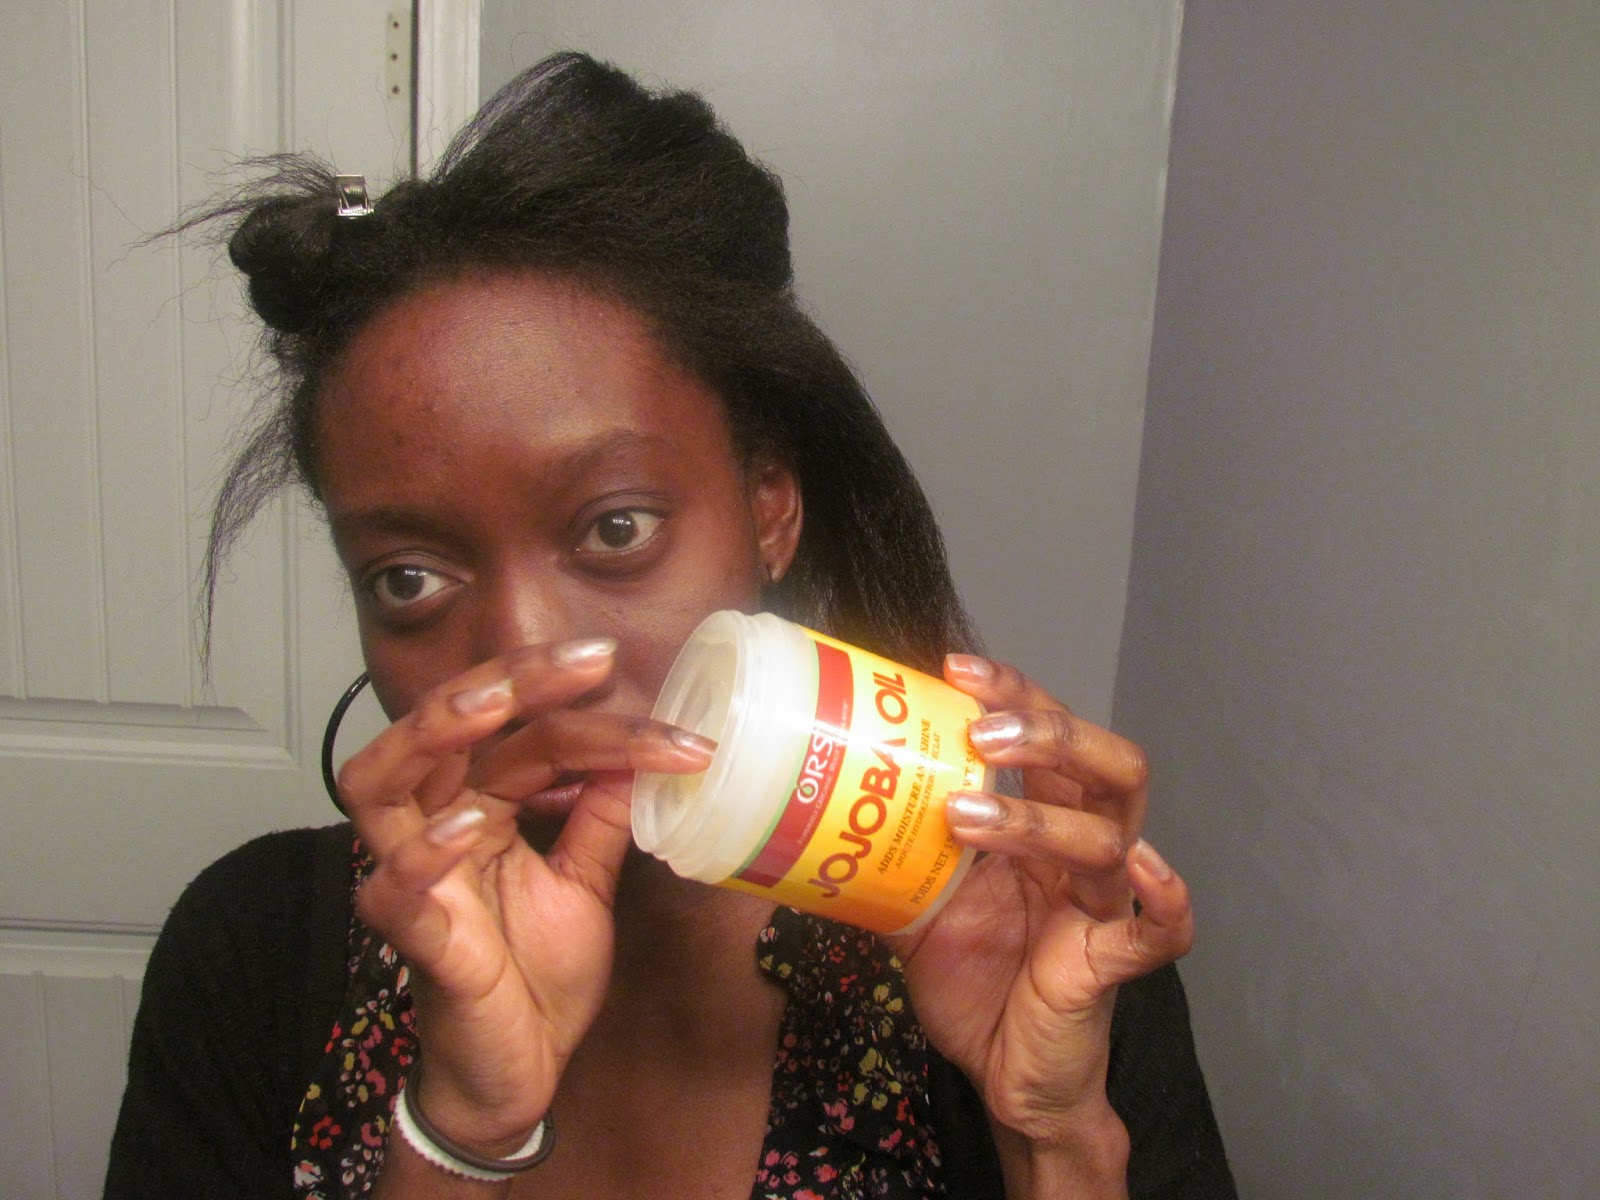
1 :: Apply oil to each section before braiding
2 :: Braid the hair into cornrows
3 :: Cornrows not including leave-out hair
4 :: View from the top
5 :: Tucked ends of cornrows
6 :: Measure required length, then cut extension to size
7 :: Clip combs should be facing out
8 :: Place combs on edge of extension (not sticking out)
9 :: Begin sewing through holes in clips
10 :: Secure and cut excess thread
11 :: Clip combs unto cornrows
12 :: Final piece of hair to go round leave-out perimeter (keeps things neat)
I sure hope you found this helpful. If you have any questions, comments, feedback, you are very welcome to leave them here :) xoxox
Till next time......Kemi.A


0 comments:
Post a Comment